DIY Ring Cones
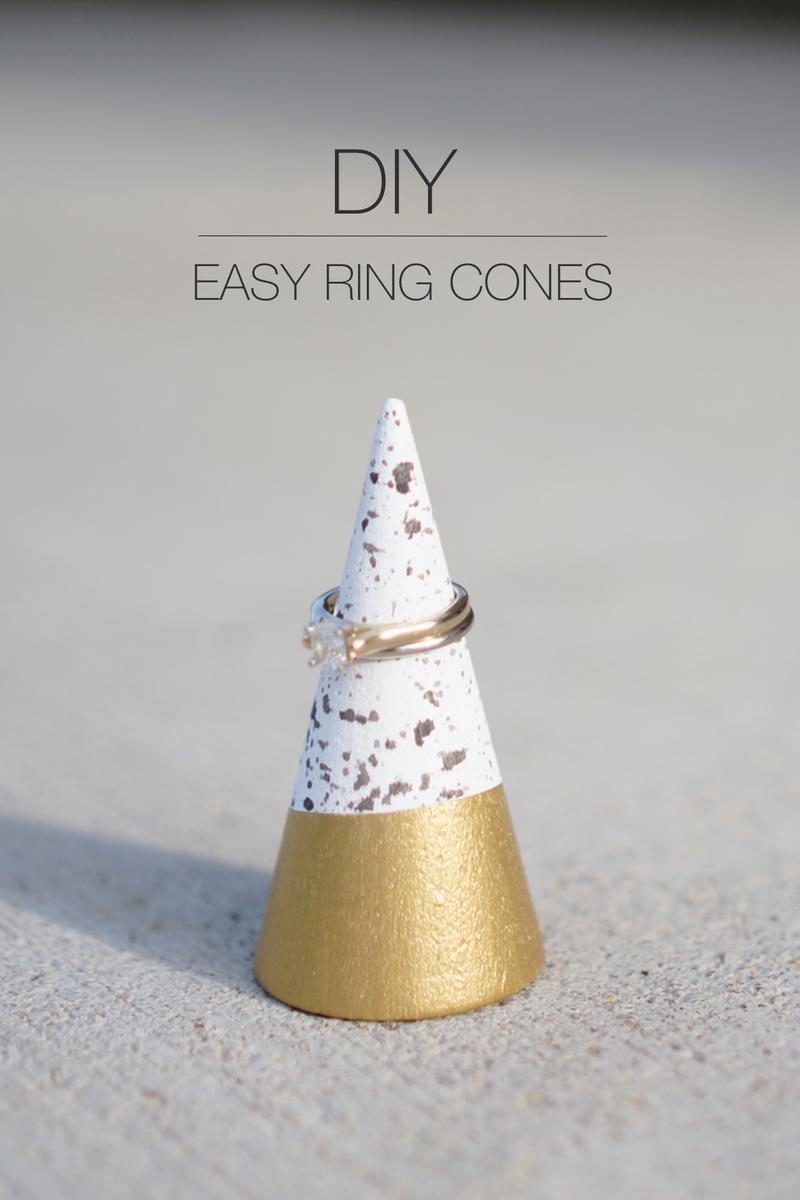
Homemade gifts are always a nice touch—they’re personal and usually budget-friendly. With Christmas only 2 weeks away, I decided to follow this simple tutorial and make ring cones for a few of my girlfriends. The best part about this gift, is the endless ways to decorate and customize the design. Here are the basic steps for 3 different looks.
Things you need: Wooden cones, painters tape, paint brush, paint.
Faux ceramic
-
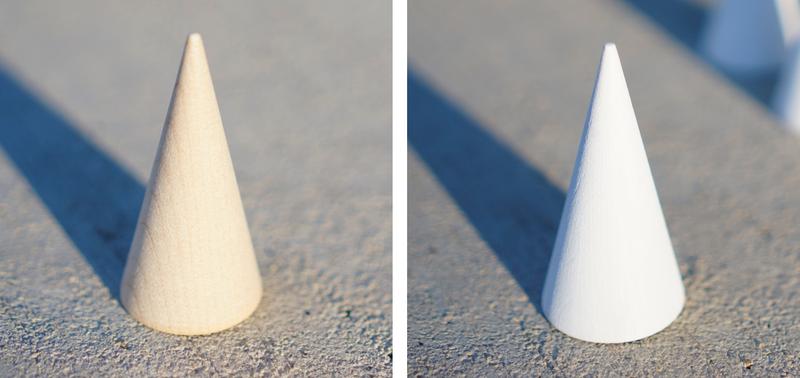
Paint the wooden cone with white paint.
- Dilute black paint with water. I used a spoonful of black paint with 2 tablespoons of water. If you dilute too much, the paint will run.
-
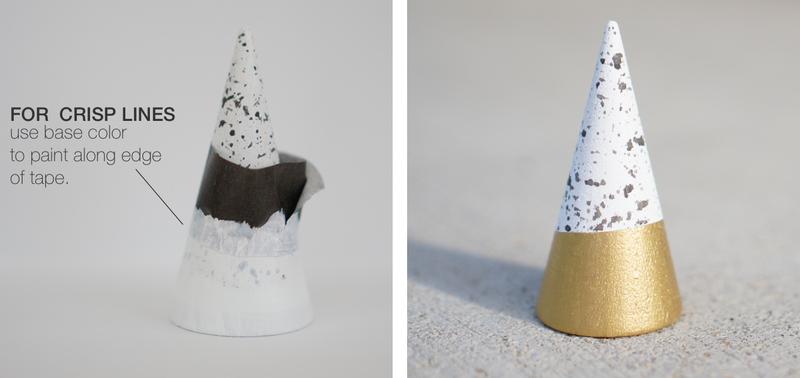
To create a splattering look, use your finger to flick the paint brush towards the cone.

- Add a color block layer. Tape around the cone using masking or painters tape. Use the base color (in this case white) and paint along the edge of the tape. Once dry, paint with the desired color. This prevents paint from seeping through the tape and creates perfect paint lines.
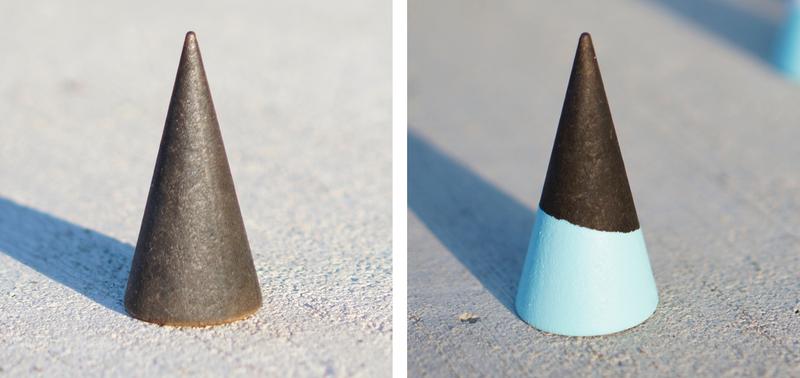
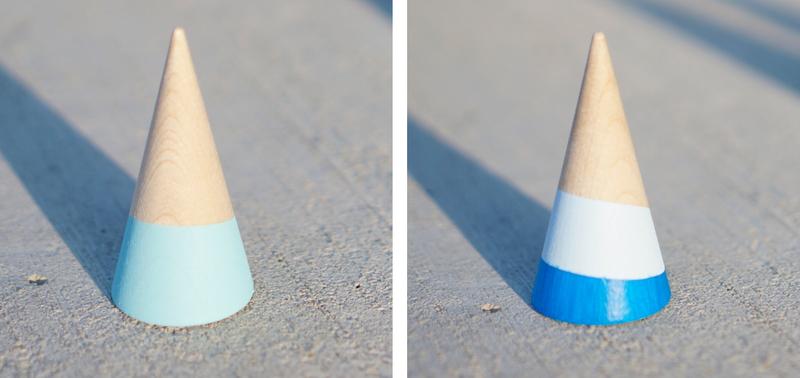
Color blocked
- Tape around the cone using painters or masking tape. Once the paint has dried, remove tape. If you want to add a second color, make sure the first layer is completely dry, then repeat steps.
Stained wood
- Use a sponge brush to stain the wood. Wait a few minutes then wipe the surface with a dry paper towel to remove excess stain. Dry overnight. Follow instructions above to add a paint color.