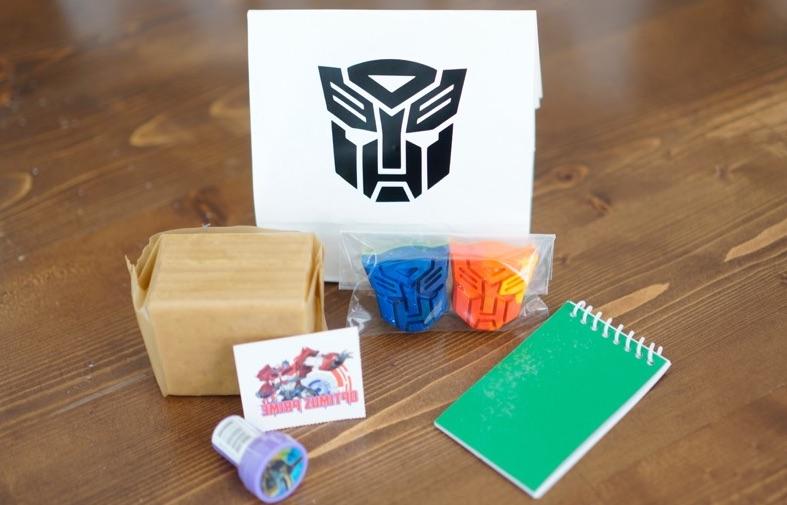
Easy DIY crayon party favors

I rarely find a Pinterest DIY that turns out as “simple” as expected. More often they end up more expensive and more time consuming than if I had just bought the item. That’s why I was thrilled at how actually easy and cheap these Rescue Bot favors turned out.
Items you need
- Transformer Ice Tray mold - Any silicon ice tray/ chocolate mold works.
- Crayons - If you have old broken crayons that is the best. Otherwise the Dollar Tree has 48 packs of crayons for $1!
Steps
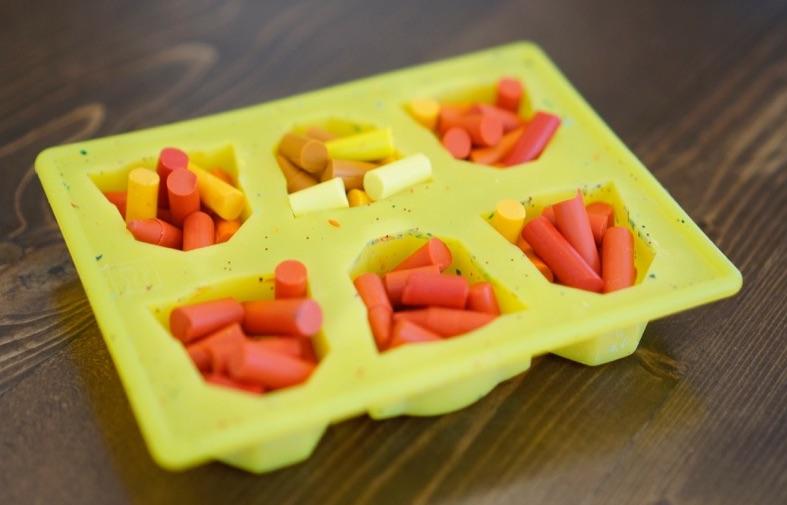
- Remove the paper labels from crayon. This is by far the most tedious part. In my experience, labels are easier to remove from cheaper crayons (ahem, did I mention the Dollar tree has packs of 48 crayons for $1!).
-
Break up crayons and distribute into silicon mold. Fill each mold as much as possible.
-
Bake at 300 degrees for 12-15 minutes. Optional (for thicker crayon molds): take your mold out after 10 minutes, add more crayons and bake another 10 minutes.
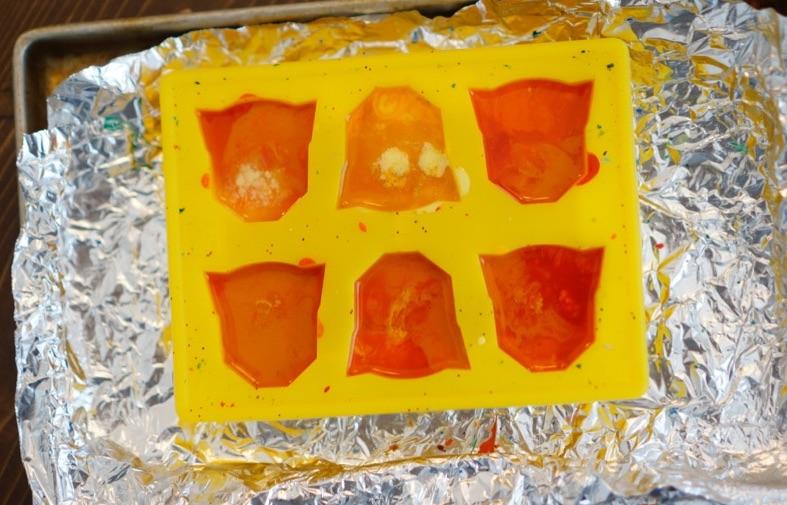
-
Dry at room temperature. Once your crayons are dry they will easily separate from the mold. If you take one out and residual crayon is stuck to the mold then they are not dry enough. A fully dried crayon will come out cleanly.
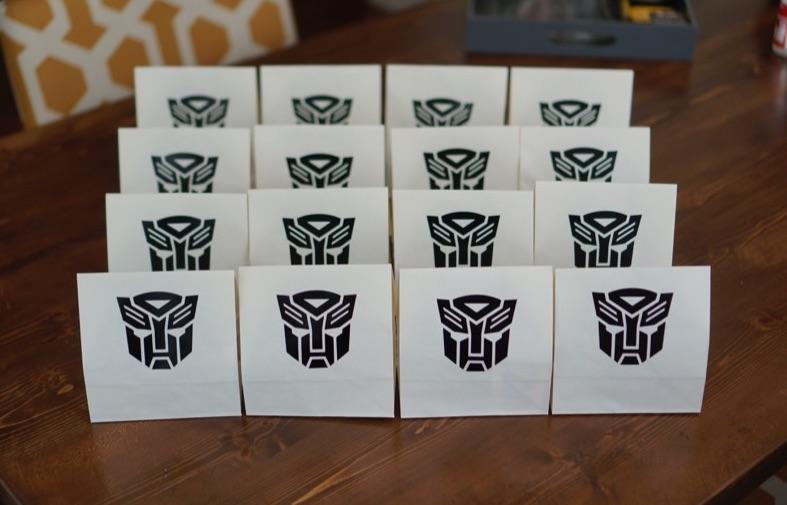
This year we are taking Max to Great Wolf Lodge in lieu of having a birthday party with friends. So I’m bringing favors to his class to make his day a little more special. I went overboard with the “crafting”, but when your husband is out of town for a week and both your kids fall asleep at their bedtimes, then you break out your Cricut machine and make stuff!